;
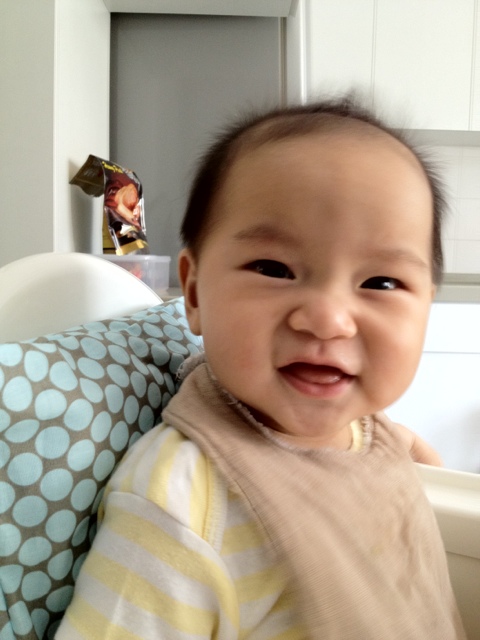
lately, E has been complaining and whining whenever we leave him at the mat while the family have our meals. so we thought of putting him on the high chair so he could sit with us when we are eating.
S&H bought us a chicco high chair for E’s first month. it is a nifty and sophisticated piece of furniture that can be tilted etc. unfortunately, the chair was a little too wide for this little guy now and so we had to get another one to use in the interim. we then bought the ikea high chair for him to use it to feed him cuz S&H said it was the cheapest and the best in the market as you can hose it down when it got too messy!
but, the chair is still a little loose for him so mr g thought of using a little pillow to support his back. we now have 3 high chairs, one at our place and one each at each grandma’s plac
this weekend was to sew pillow cases for all 3 chairs. as usual, i needed to do something quick and simple. so, together with various tutorials floating around the web, i compiled this tutorial for all – the p super easy, super fast button-less pillow case.
 _prewash cotton fabric to minimise unexpected shrinkage at the end.
_measure pillow insert.
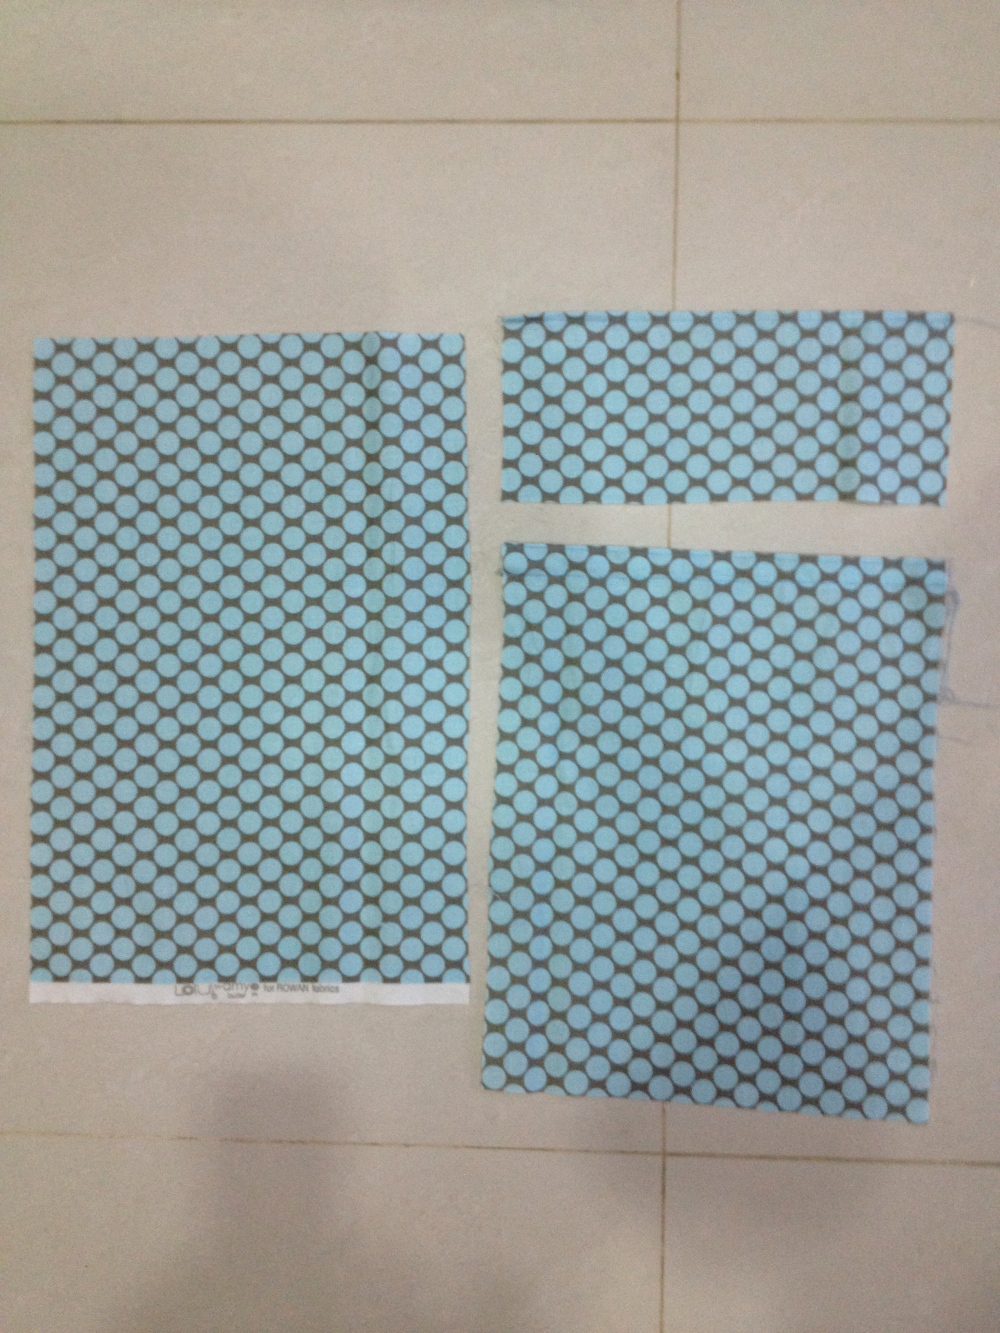
_cut 3 pieces of fabric (A, B & C)
_the biggest piece (A) being the front cover of the pillow (add 1 inch extra all round).
_ the other 2 pieces (B & C) are for the back. the finished product is an overlap of these 2 pieces. very similar to the pillow cases we buy for our bed. cut the second piece (B) of fabric approximately 3/4 of the length of A and the third piece (C) should be approximately 2/5 of the length of A.
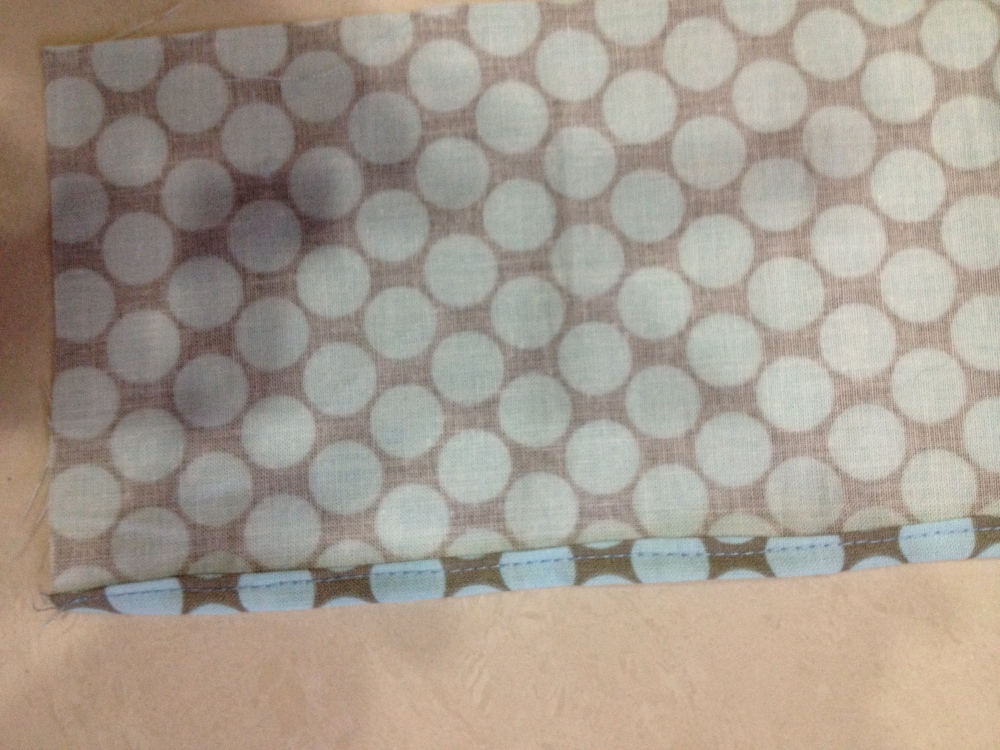
_hem one raw edge of B. Fold 1/8 inch of the raw edge and for a second time 3/4 inch of the fabric and sew a straight seam at the edge.
_topstitch to top for added reinforcement and it also looks more professional at the end.
_do the same to C. however, you do not need to do the top stitch as this piece will be hidden under B.
_lay the right side of A upwards.
_overlay the right side of B on top of A. Both A & B would have their right sides facing each other. make sure they are aligned.
_next, overlay C on top of B. right side facing down as well.
_pin all 3 pieces together.
_sew all round the perimeter with a straight seam.
_cut the corners of the fabric about 2mm away from the corner stitch off. this ensures a sharp corner when turning the fabric inside out.
_sew another round with the zig-zag stitch at the end as seen in image below. this extra step prevents the fabric inside from fraying. most of the basic machine has this stitch. just check your manual on how to adjust the thread tension. if you have a serger, you can use it too.
_once completed, flip the pillow case inside out.
_i sewed an extra seam at the edge of the cover opening for added reinforcement. if you realise, alot of my projects has extra steps for reinforcement. this is because we are sewing for babies and children. the amount of times that these needs to be thrown into the washing machine is unimaginable. having put so much effort in making these, you would definitely want it to last longer for you in the long run.
_for the extra seam, instead of doing a reverse stitch, which i feel is messy, i just turn the seam outwards, creating a half rectangle.
_and the pillowcase is complete!
_below is the back side of the pillow case.
_the front side.
_and the end.
the fabric used here is Amy Butler’s slate/full moon polka dot, 100% cotton.
;


Ain’t the high chairs great? It even allows you the opportunity to sew pillow covers! E is super cute! I want to pinch him – S